How do I create a campaign?
This section will discuss all components of creating your marketing campaign, from start to finish. Jump ahead to any of these 4 sections, if you only need to understand those specific details.
Campaign Set Up
Once you’re in Strum Voice, you can create a Campaign or a Journey. Think of a Campaign as a standalone occurrence, while a Journey is a sequence of events that happen over a period of time and is based on conditions. To learn how to set up a Journey, see specific instructions.
-
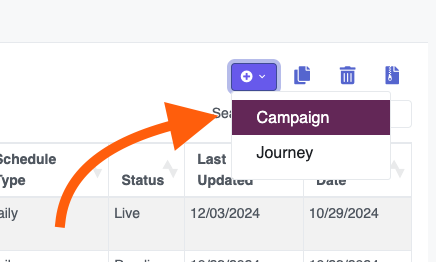
From the Campaigns tab, within Voice, click the + drop down menu and choose Campaign.
-
Enter a name for the campaign and add a description (optional) so you can recall the campaign’s purpose.
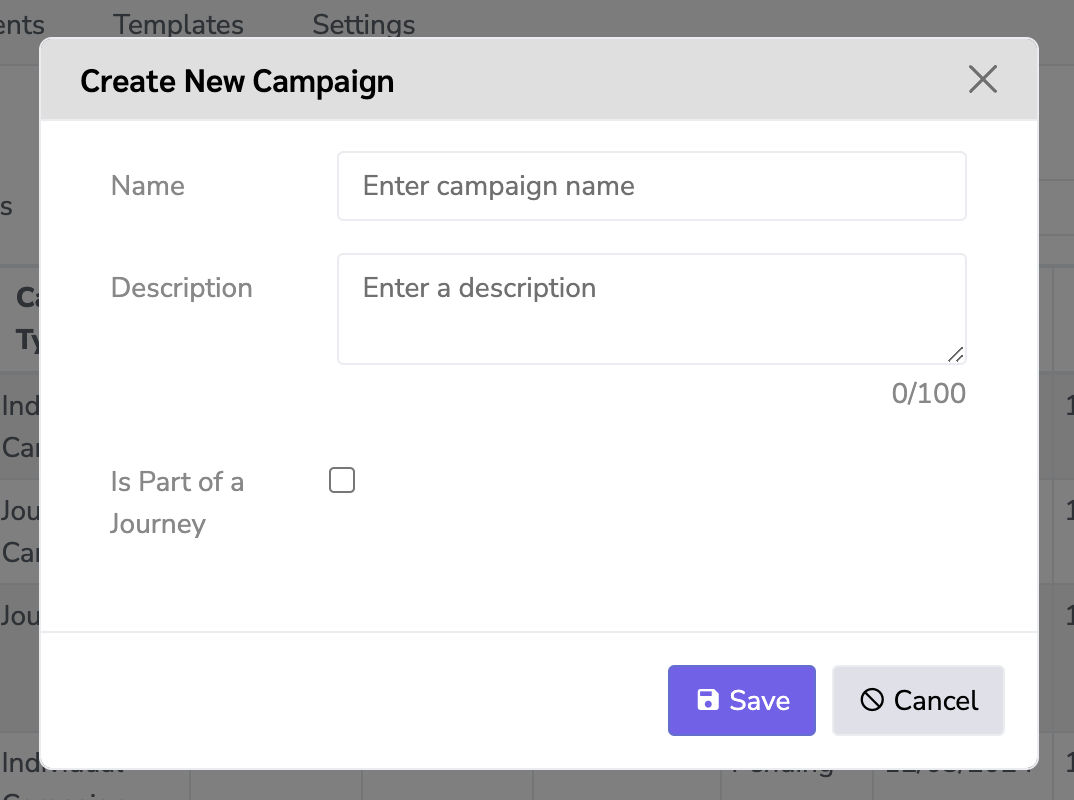
- Select the checkbox for whether or not this is Part of a Journey and click Save.
- If this campaign message is part of a structured sequence of messages, make sure to select the Journey option.

On the next tab, you'll see Campaign Details tab, which is where you'll input your details for scheduling, segmenting and gives you a view of your target audience.
You have the option of continuing to fill out these details, or jumping over to the Channel Builder tab to start designing your campaign. Note: Until you've completed the channel builder portion, you will notice that "No Channel Selected" will be populated in the Channel portion of this tab, as seen in the below screenshot.
Schedule a campaign
Continue down the details tab to easily Schedule Campaigns so that they go out at the right time for your intended audience.

- Click the Schedule dropdown and select the option that works best for your campaign
- By Date - schedule a specific date for your campaign to be delivered.
- Daily - schedule every day during the selected date range.
- Weekly - schedule every week during the selected date range.
- Bi-weekly - schedule every other week during the selected date range.
- Monthly - schedule once a month during the selected date range.
- Select the Start date, End date, and Email Sending Time.
- Note, for same day scheduling, make sure that the time is after the current time for it to be initiated today. It is recommended that email send time be scheduled after your daily processing.
- Select the appropriate Status
- Pending - campaign won’t start to send until you change this.
- Live - campaign is live and will start to send based on the schedule details above.
- Archive - campaign will be archived and will not continue to send.
- Pause - this status will be available once the campaign is Live and the campaign will be paused once clicking this option.
To enable test mode, simply toggle the test mode button on and set status to Live. More on that here.
Click Save to set the schedule.
The last portion of the Campaign Details tab is connecting your campaign to an audience. If you’ve already created your audience within the Segments tab, finish out this tab by clicking Add Segment, and selecting the already saved audience segment. But if you haven’t, you can easily do so through the Segments Tab.
Now you're ready to pick your channel and build your email.
Designing a campaign
Channel Builder
-
To create your message, click Channel Builder and then toggle on the Email option for email channel, or Direct Mail (coming soon) for snail mail.

- Click the Create Email From dropdown and select an existing design to see a preview, or choose "New Design" to start from scratch.
- Once you've found your design within the drop down menu, click Select to begin.
- Note: If you choose an existing design to edit, this just grabs a copy of the design for you to modify for this specific campaign and doesn’t change the original.
- Be sure you populate the Subject Line input box, as this is what the member will see when they receive the email.
- If you want to receive a test e-mail, use the next area to add any email(s) that should be included.
- Note: Once you have your final design complete, click the "Send Test" button to deploy.
- Once finished, click Save.

Editing your campaign e-mail
Once you’ve selected a template, you can make edits such as adding your logo, customizing the text, inserting your own images, and directing links to the right pages. If you are creating a New Design, jump over to that section for more insight.
For more background on the elements here, please see this Introduction resource.
Adding your logo
-
Click on the Your Logo Goes Here image.
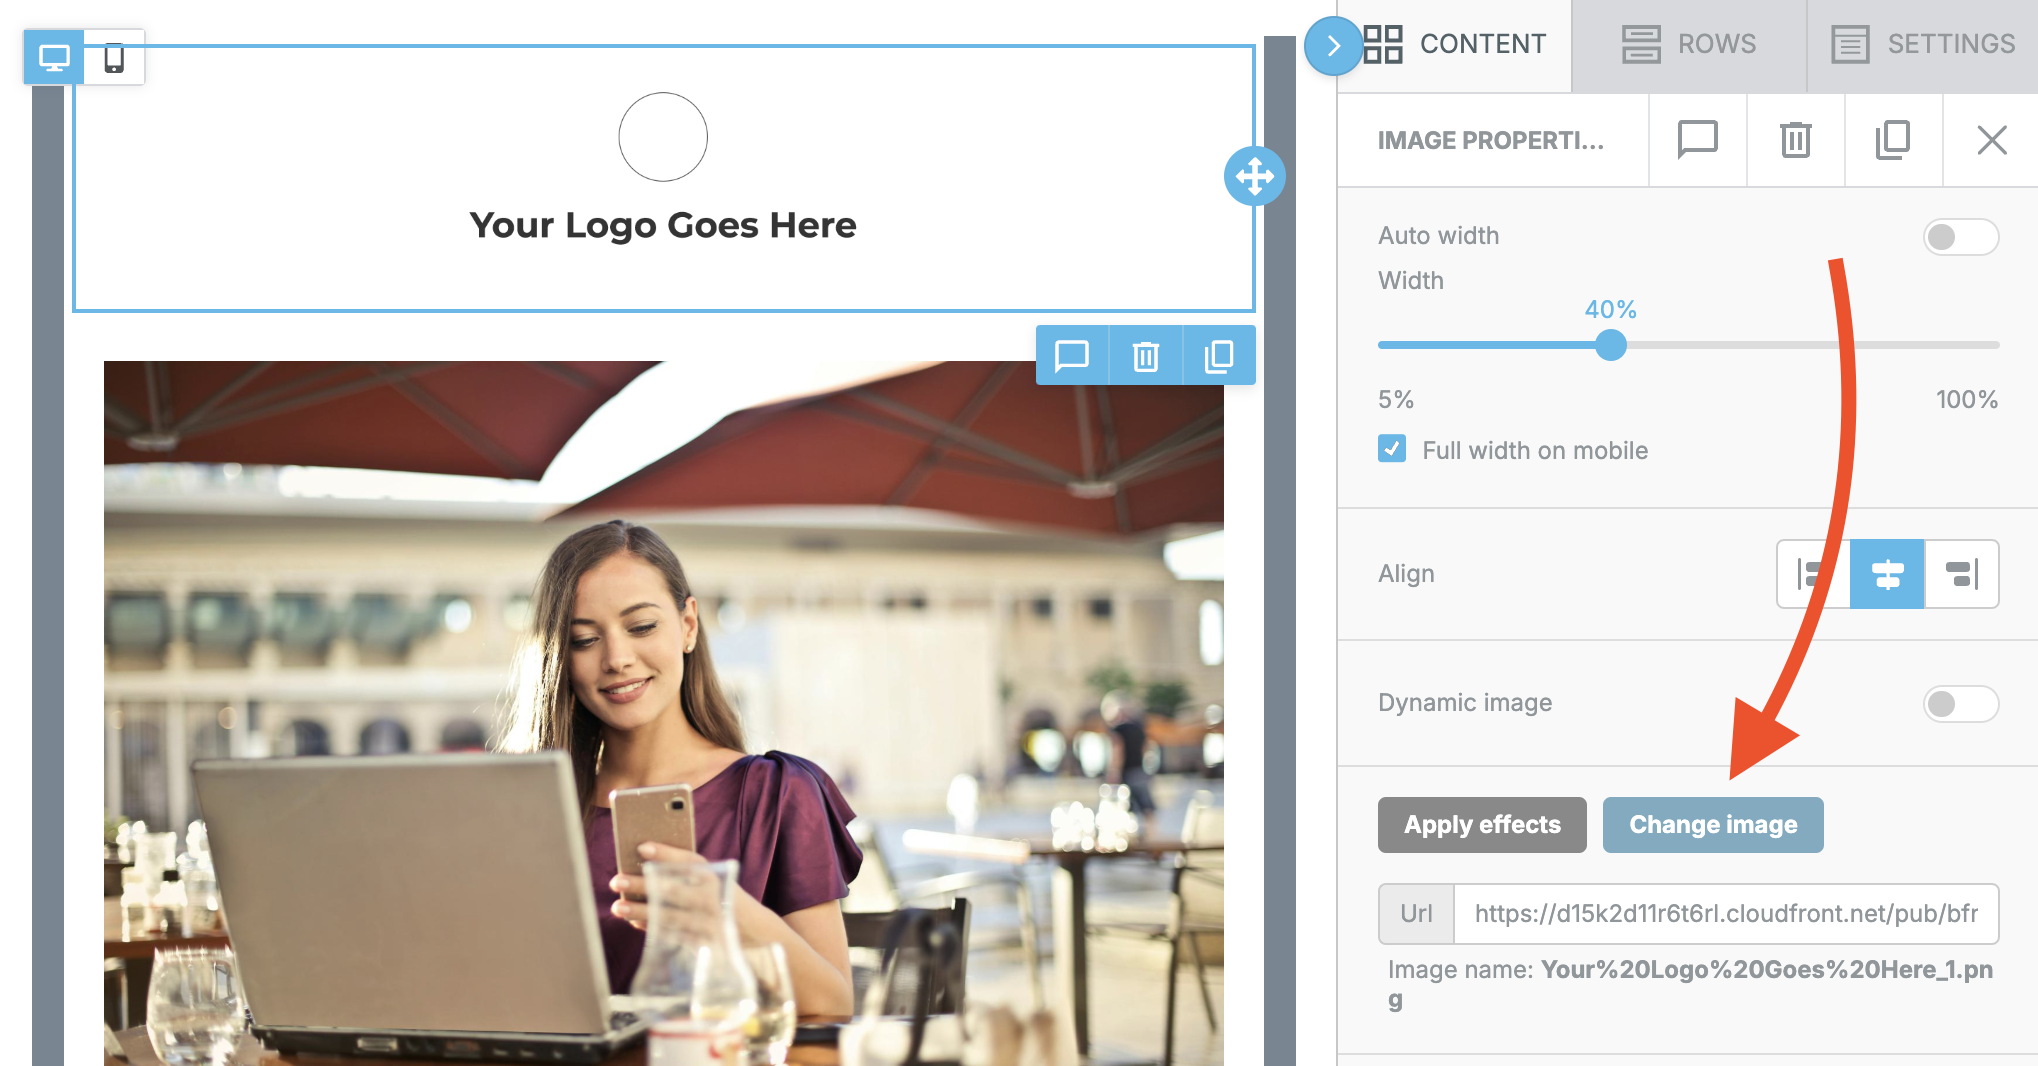
- In the right side menu, click Change Image.
-
You can either use an image you’ve already uploaded or click Upload to upload your logo image.

- Select the image, then click Insert.


Customize Text
- Click the text block you’d like to edit
-
Type in the text you’d like to insert

- Use the settings in the right side menu to make changes to the font, size, weight, etc.

Inserting Images
-
Click on one of the existing images -or- click the Content tab in the right side menu and drag an Image block into the message in your desired location
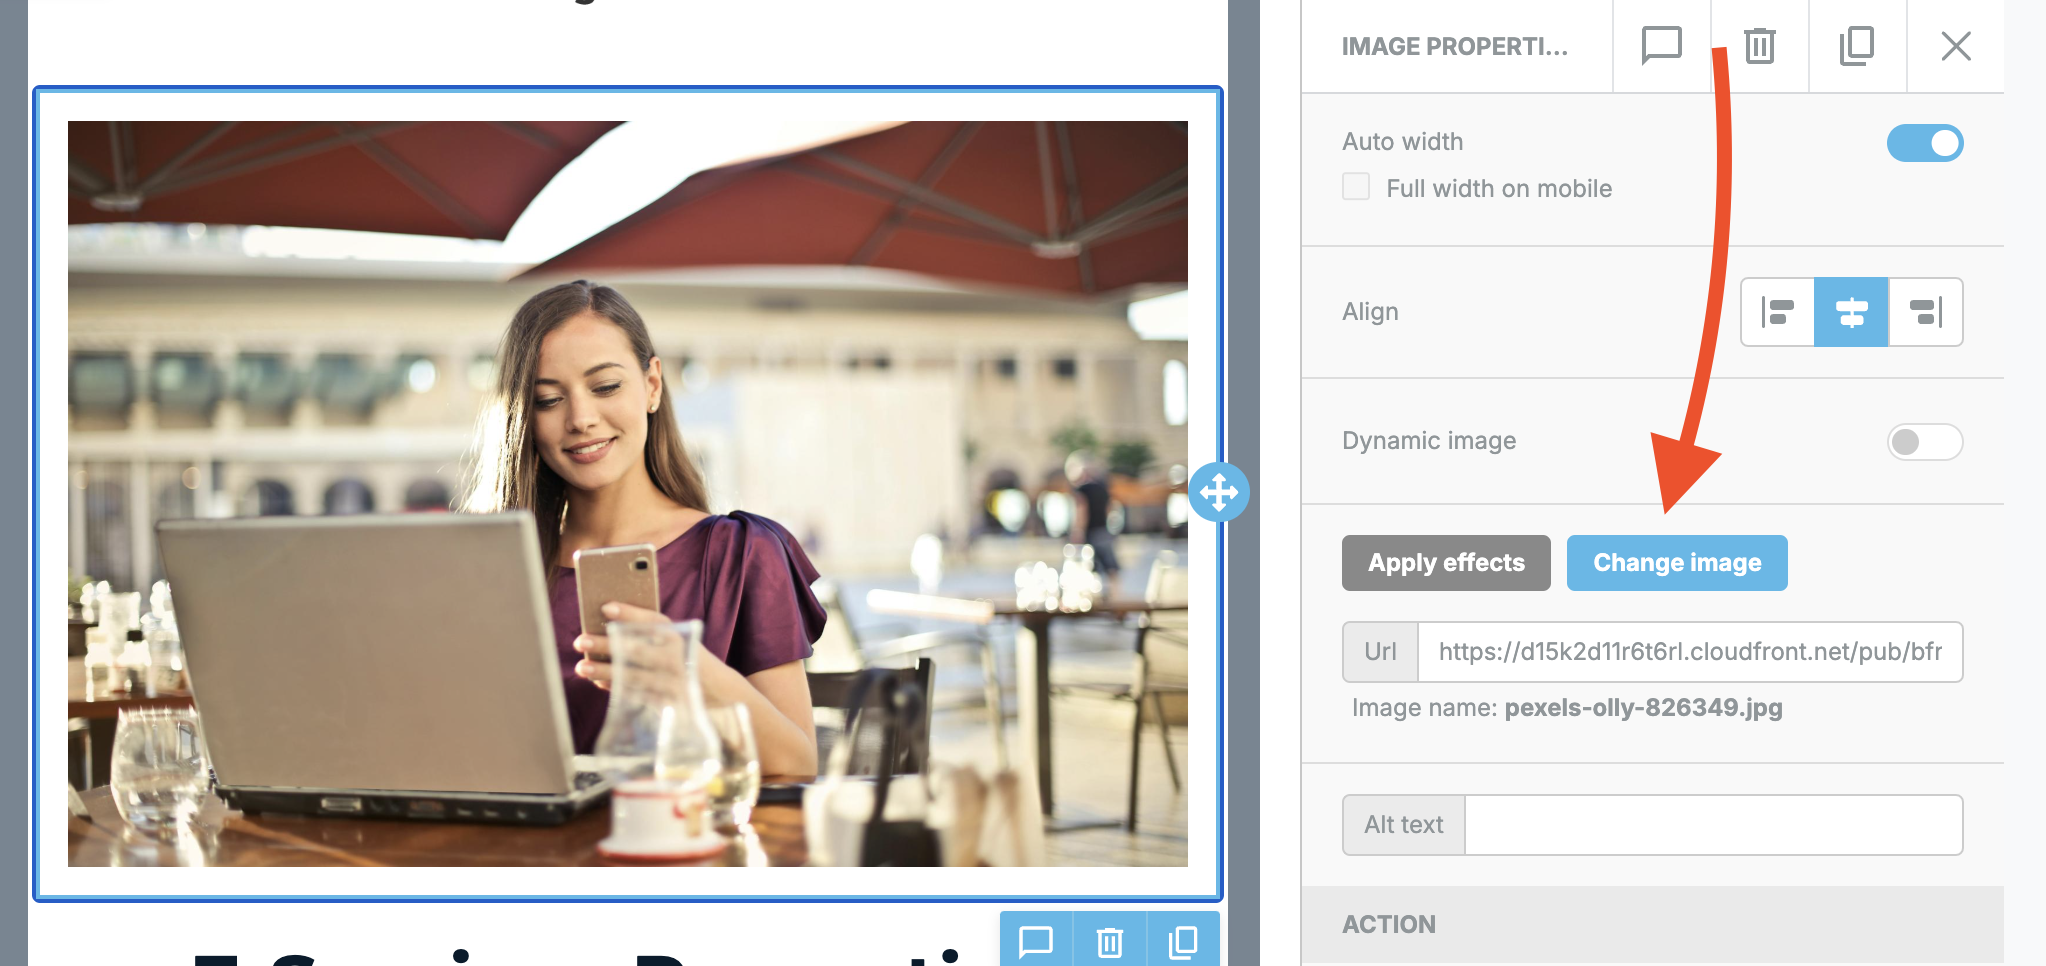
- Click Change Image in the right side menu to change an existing image
- Click Browse to insert an image in the new image block
- Select an image you’ve uploaded or click Upload to upload your new image. You can also select from free images.
- Select the image, then click Insert

Direct links or buttons to a URL
- Click on the button or link you’d like to change
-
Insert your URL in the URL text block under “Link Type”

